You can use the Biller Portal to issue a credit to a payer for a previous payment that they have made through one of the InvoiceCloud payment sources. Credits are issued on transactions that have been settled and appear in the Settled Batch History report. A best practice when issuing a credit is to wait at least 4 days after the transaction date for EFT check transactions to ensure they do not result in an ACH reject. To issue a credit, follow the steps below:
- From the Biller Portal, select Search > Payments:

- Enter the search criteria to locate the transaction to credit.
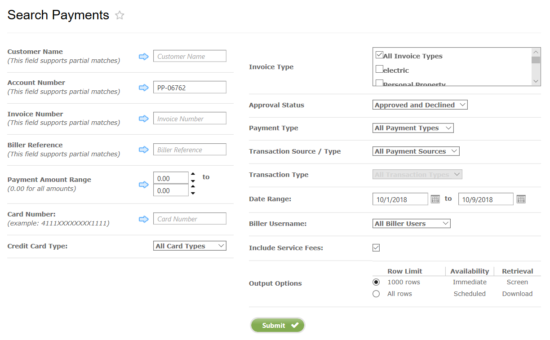
- The search results will appear below the search screen. Select the green icon containing the dollar sign to view payment information.

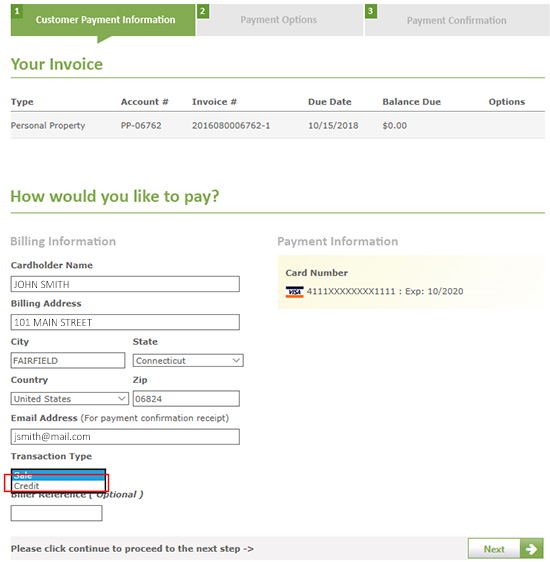
- The Customer Payment Information screen will display the invoice. In the How would you like to pay? section, select credit from the Transaction Type dropdown menu. If an email address was entered at the time of the transaction, it will display on this screen or it can be entered as you process the credit. The payer will then receive a confirmation receipt. There is an optional field labeled Biller Reference that will allow you to enter additional information that can be used in a search to locate this credit transaction later. Select Next to move to step 2.
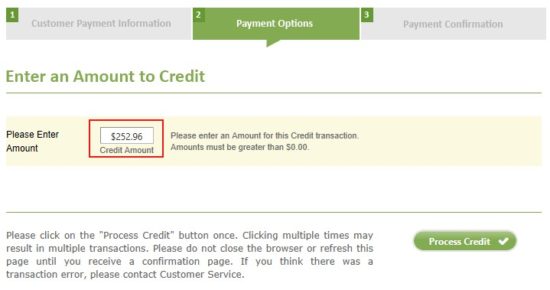
- The Payment Options screen will appear. In the Enter an Amount to Credit section, enter the invoice payment amount in the open field. Click on Process Credit.
- The Payment Confirmation screen will appear and display the details of the credit transaction.